The fill handle is a tool in Microsoft Excel that helps improve productivity. This feature makes it possible to fill an entire section of cells with the same data or formula. Alternatively, the fill handle can also detect and reproduce formatting and read patterns in the data, text, or formula to replicate those across a selection of cells.
How to use the fill handle
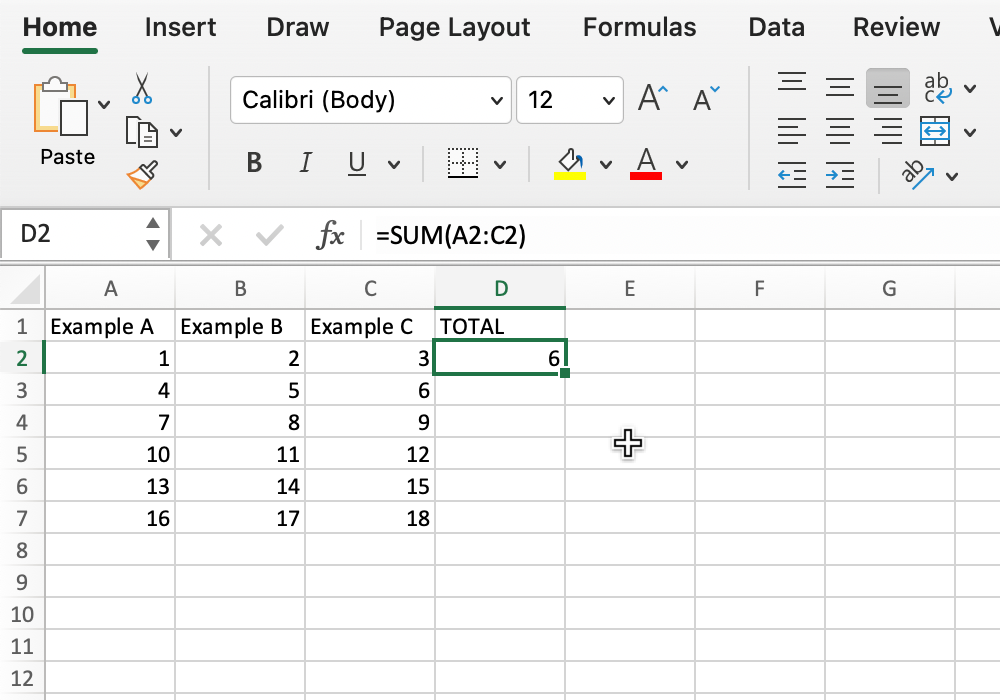
- Select the cell that has the formula or data you want to fill in other cells.

- Hover your cursor over the bottom right corner of the cell until it turns into a black plus sign.
- Click and drag the fill tool up, down, left, or right.

- Let go of the cursor to fill cells.
- To customize the fill style, click the Auto Fill Options box that appears at the bottom right when you release the cursor.


Filling cells using the ribbon toolbar
Alternatively, you can use the fill tool from the ribbon toolbar to fill a selected cell based on its surrounding cells. Begin by selecting the cells you want to fill, including the cell(s) that will serve as the source for your data or formulas. Then, select the Fill tool from the far right of the Home tab on the ribbon toolbar.

The dropdown menu contains several options for filling data:
- Down, Right, Up, Left: Fills the data in a single direction
- Across Worksheets: Fills the data across multiple selected worksheets
- Series: Fills the data with specific customizations, including step value, stop value, growth, and date format
- Flash Fill: Fills data in a selected cell’s column based on the surrounding data patterns (example: First name and last name in Column A, first name in Column B, and last name in Column C)
There is also a Justify option, which merges text in multiple rows in a single column. Justify cannot be used with formulas or numbers.
Excel filling errors
If an attempt at filling cells doesn’t go as expected, there are a few troubleshooting steps you can take. The exact solution depends on the problem you’re encountering:
- If the cell output is incorrect or not what you expect, check the cell reference to see if the cell contains a formula rather than plain data.
- If you’re unable to see the fill handle when you hover your cursor, go to Preferences > Edit and check that “Allow fill handle and cell drag-and-drop” is enabled.
- If filling the cells doesn’t generate the automatic calculations you need, go to Preferences > Calculations and check that “Automatic” is selected under Calculation Options.