The Clone Stamp is a tool in Adobe Photoshop that allows you to copy an exact detail from one part of an image to another by “painting” with existing pixels. Graphic designers and digital photographers often use this tool to hide or fix parts of a photo in post-production. Edits made with the Clone Stamp are usually less noticeable and more natural-looking than some other Photoshop tools.
How to use the Clone Stamp in Photoshop
The instructions below demonstrate how to use the Clone Stamp to hide the people who are photographed walking at the back of the trail.
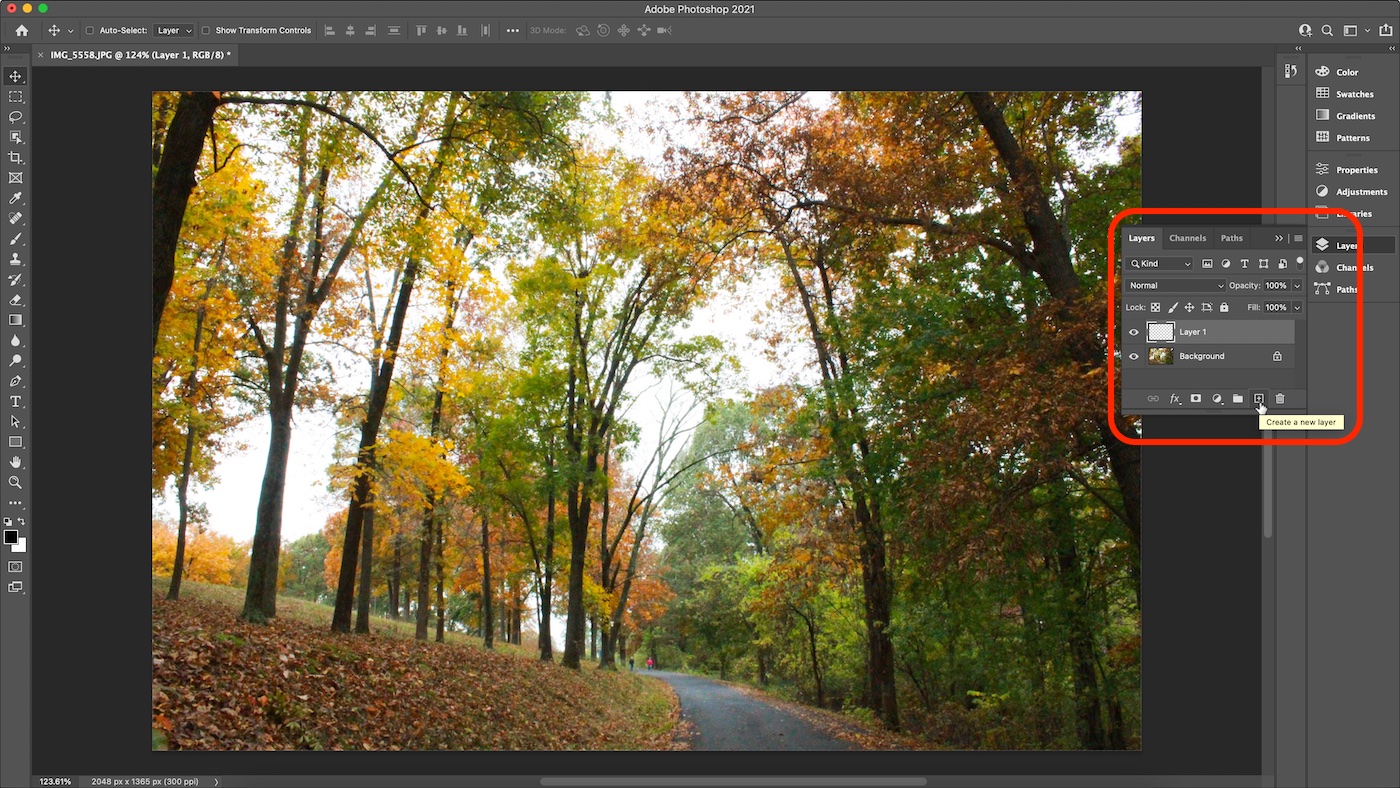
- Create a new, empty Layer over the background image.
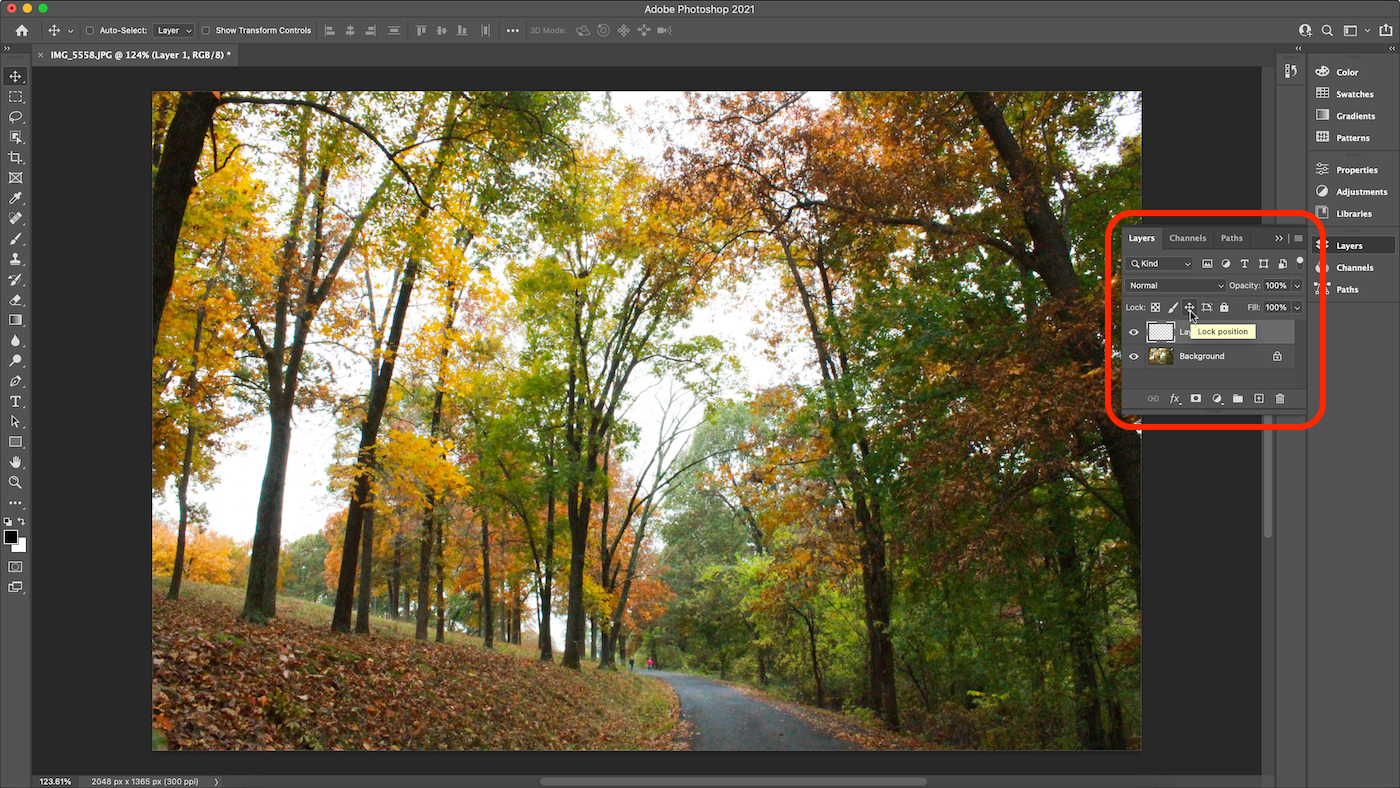
- Lock the retouching layer to keep it in the correct position over the background image.
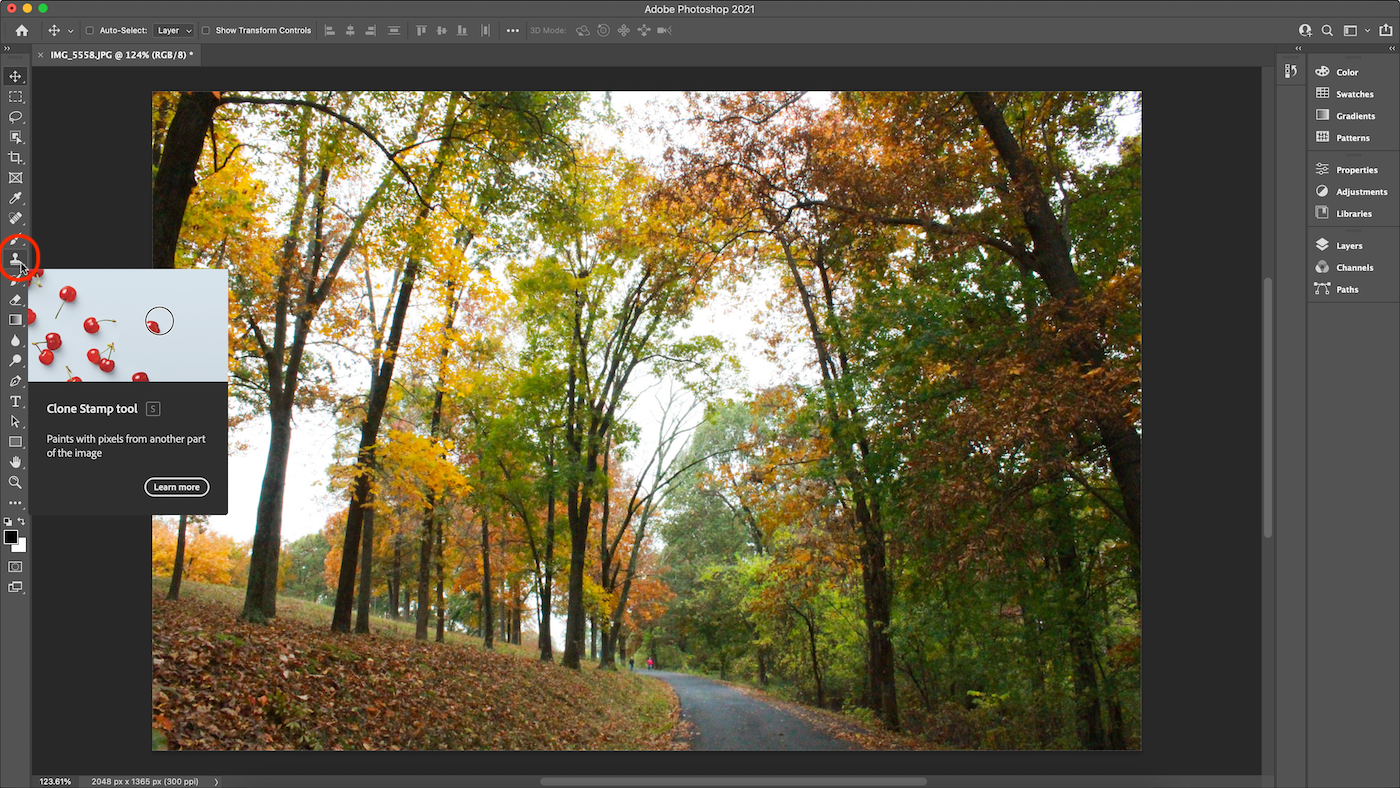
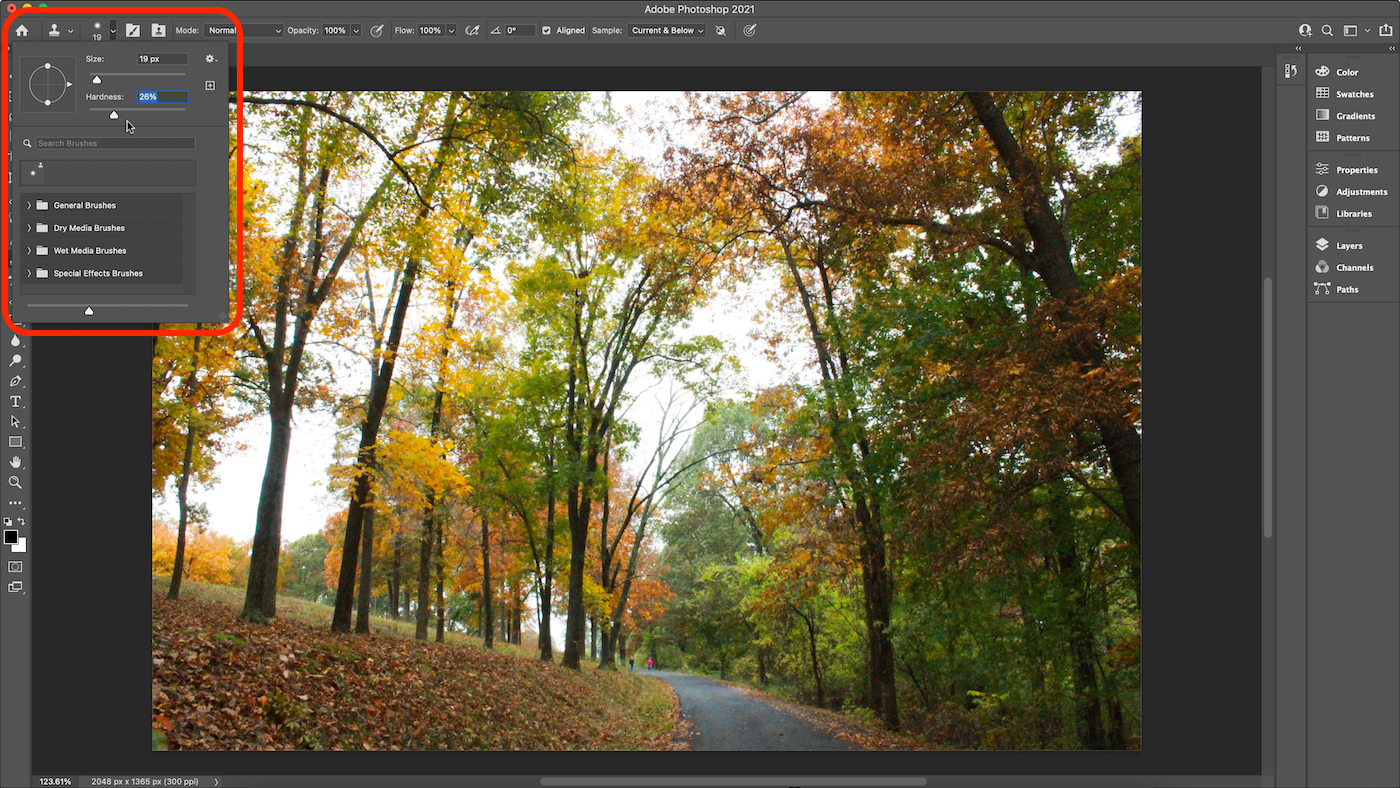
- Select the Clone Stamp tool from the toolbar on the left. Alternatively, you can activate the Clone Stamp tool by hitting the S key on your keyboard.
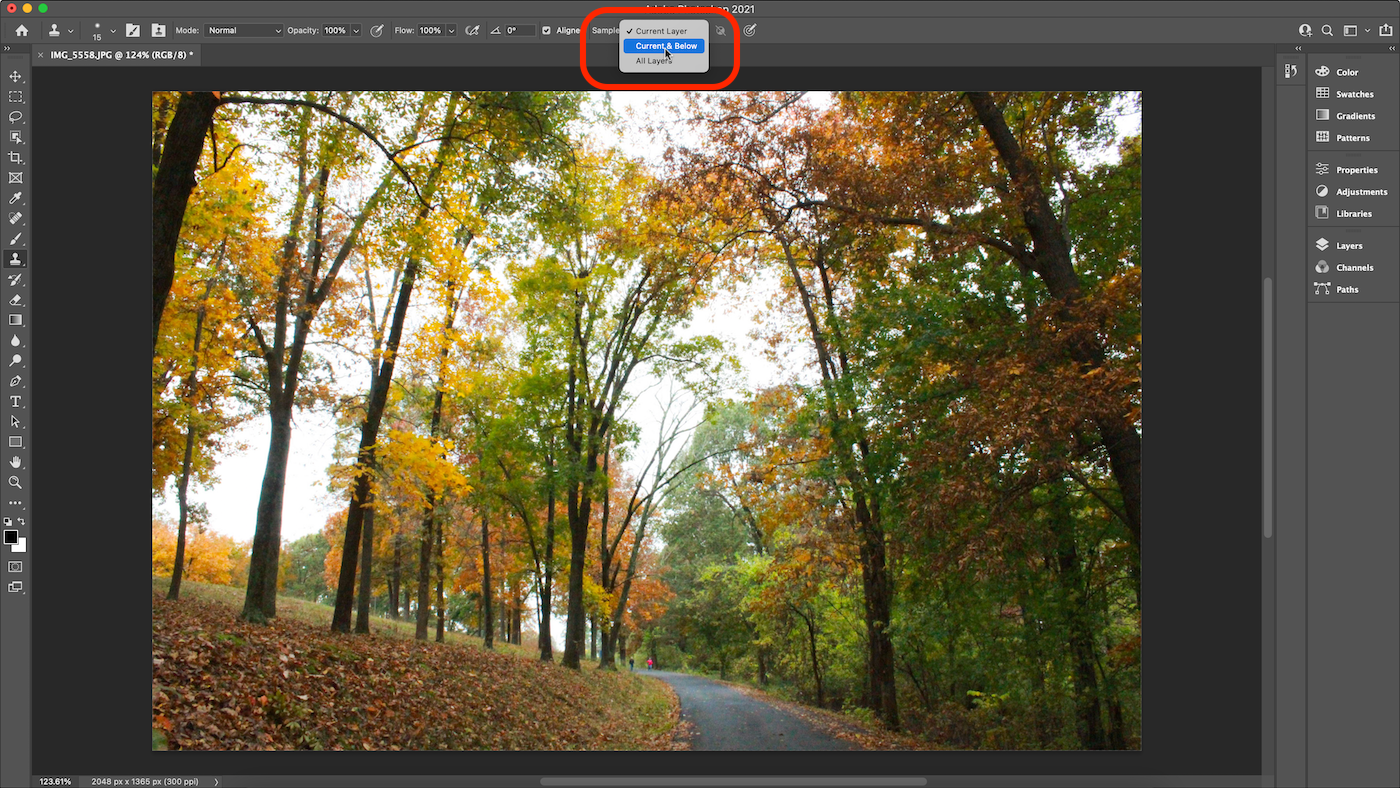
- Change the sample setting to Current & Below.
- Adjust the brush type, size, and hardness. You can also adjust the brush size by hitting the bracket keys ([ and ]).
- Select the stamp source by hitting the Option key on Mac or the Alt key on Windows and clicking the part of the image you want to replicate.
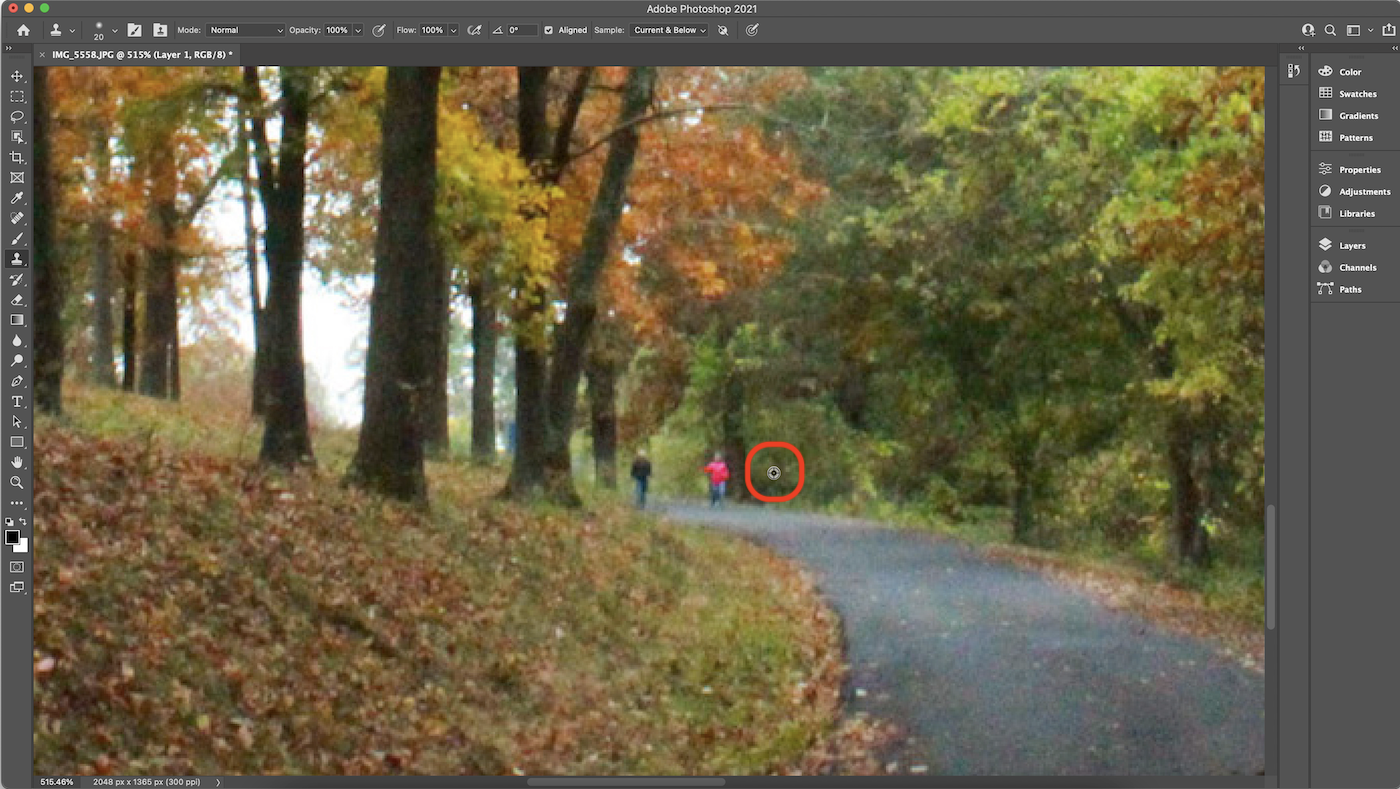
- Click over the part of the image you want to remove. Click and drag to use the stamp to paint. Pay attention to the crosshair that appears so you know what part of the image is being cloned.
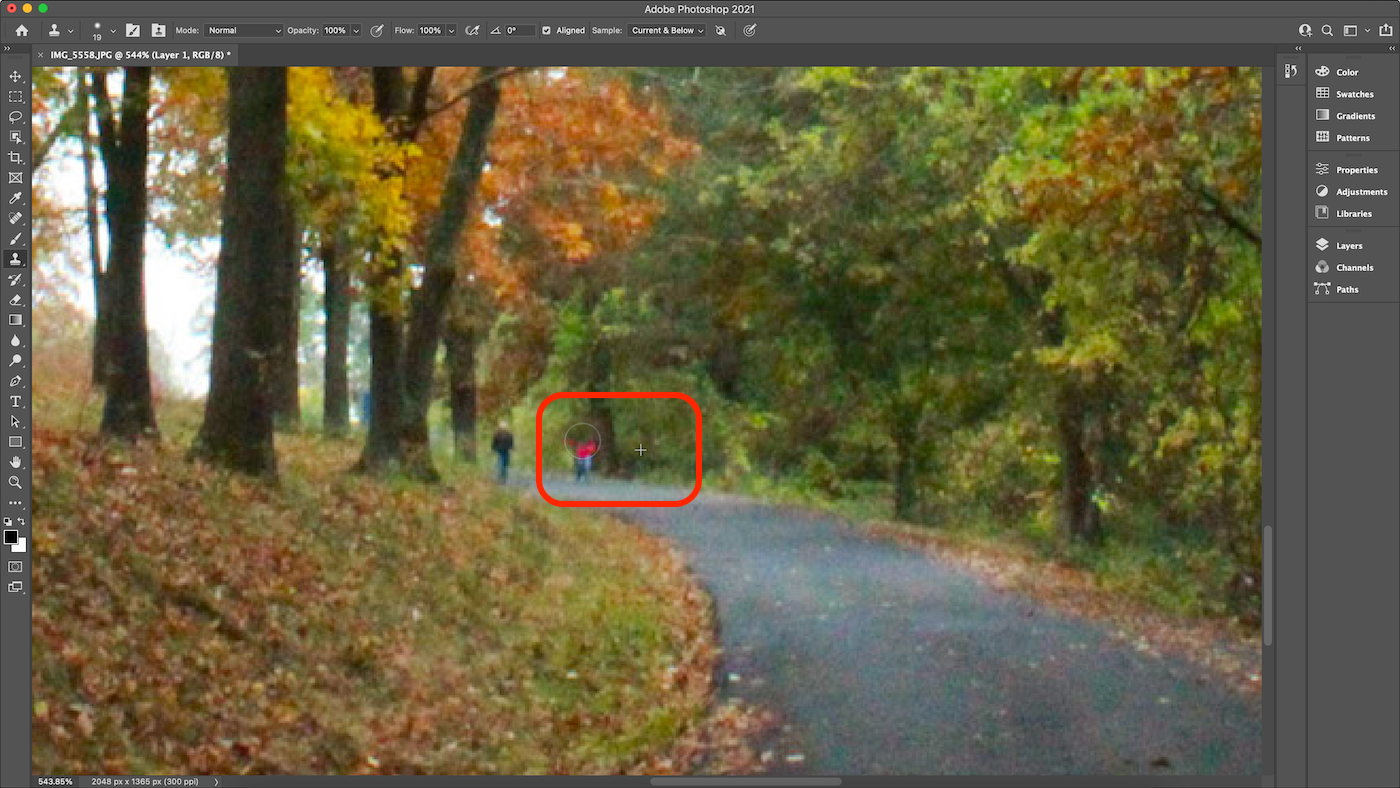
- Repeat steps 6 and 7 until you have the desired result. You may need to adjust the brush size and/or select multiple Clone sources to avoid patterns or repeating details that make the cloning noticeable.

When to use the Clone Stamp tool
The Clone Stamp can be used in a variety of situations. It’s a great tool for removing distractions or unwanted background elements like trash cans, cars, or people. Some photographers and graphic designers use the Clone Stamp to fine-tune the perceived imperfections of an image, like a tattoo on a model’s arm or an out-of-place hair. Or, if an image contains sensitive information like someone’s address or license plate number, the Clone Stamp can remove those details without adding a bigger distraction to the final image.
Alternatively, the Clone Stamp can also be used to add to an image. The original image in the steps above, for example, had some areas of negative space near the edge. Using the Clone Stamp, we filled in some of those areas with surrounding pixels. This helps add subtle dimension to some of the trees and direct the viewer’s eye to certain parts of the image instead of letting it wander. Compare the original image with the edited one below:

Original image Edited image

